Key Takeaways
- Know your vehicle’s voltage and amperage before you arrive.
- Bring the right cord and adapter: most UK sites use 13A, 30A, or 50A connections.
- Follow a simple three‑step process: park, plug, power‑up.
- Use a GFCI or surge protector to keep your electronics safe.
- Check campsite specs early - not every pitch offers 50A shore power.
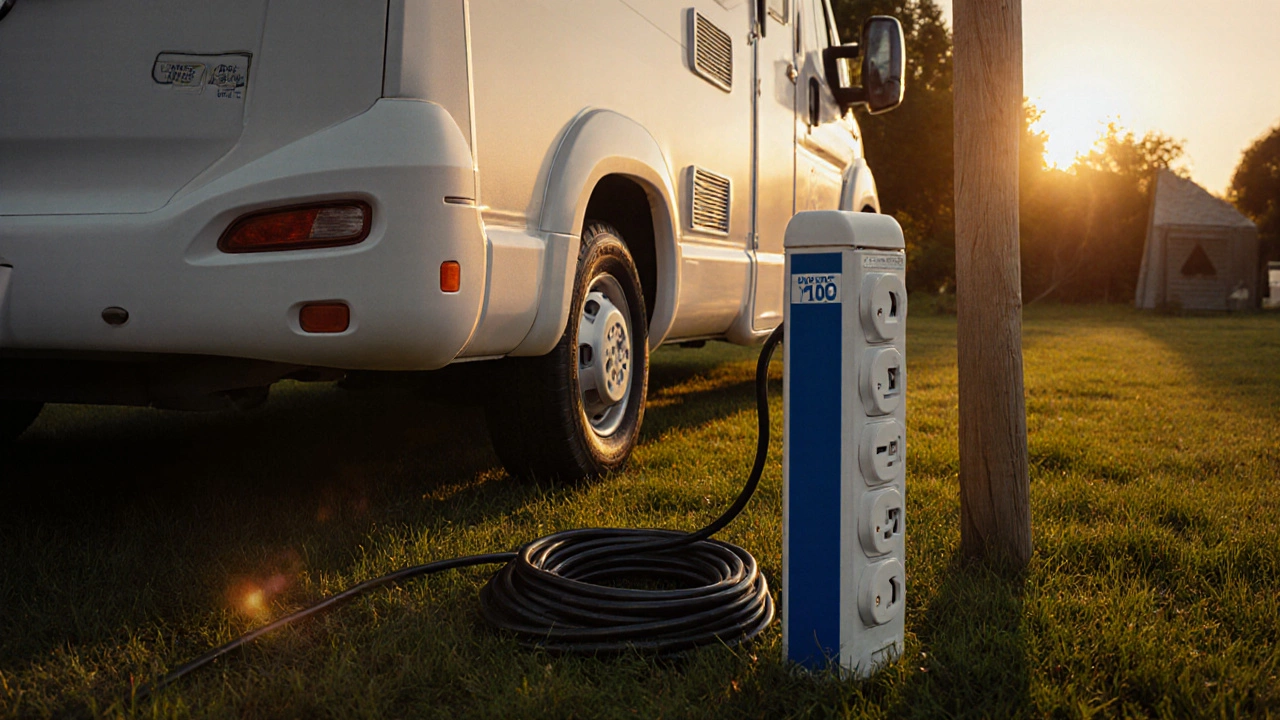
When you arrive at a campsite, Campsite power hookup is the connection point that lets you run electricity from the campground’s grid into your RV, motorhome, or campervan. Hooking up isn’t rocket science, but a missed step can leave the lights flickering or, worse, damage your appliances. This guide walks you through everything you need - from the basics of UK campsite electricity to a step‑by‑step hookup routine, safety tips, and quick fixes for the most common hiccups.
1. Why campsite power matters
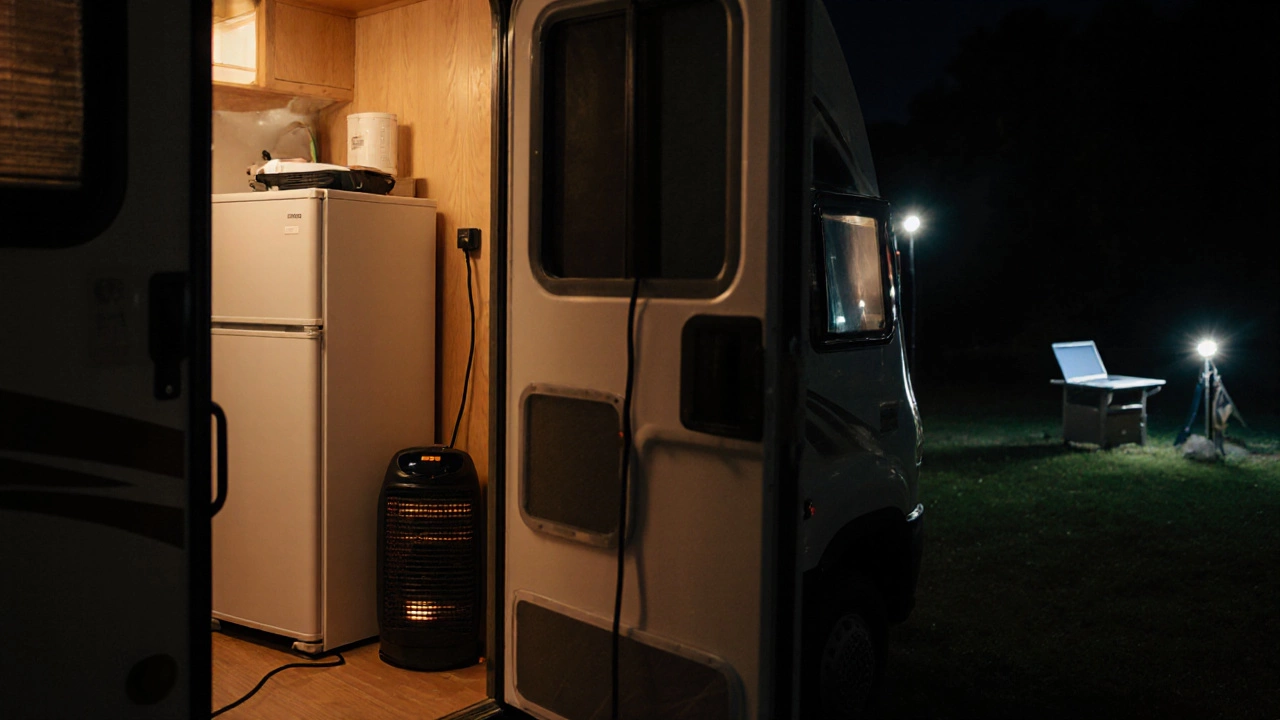
Most modern motorhomes and campervans rely on external electricity for heating, refrigeration, and charging devices. Without a reliable power hookup, you’ll be stuck on battery power, which drains fast when you run the fridge or a portable heater. Knowing how the campsite’s supply works saves you from scrambling for a generator or missing out on a comfy night’s sleep.
2. Understanding the UK campsite power standards
UK campsites typically offer three types of shore power:
- 13 amp (13 A) - 230 V AC: the most common, suitable for small campervans and basic appliances.
- 30 amp (30 A) - 230 V AC: used by medium‑size motorhomes; provides enough juice for a fridge, oven, and air‑conditioning.
- 50 amp (50 A) - 230 V AC: found at luxury sites; powers multiple high‑draw devices simultaneously.
All three deliver the same voltage (230 V) but differ in current capacity. The higher the amp rating, the more appliances you can run at once without overloading the system.
3. Check your vehicle’s power specifications
Before you even book a pitch, confirm what your vehicle can accept. Look for a label inside the driver’s door or near the power inlet. It will list the maximum amperage and the type of plug (BS 546, IEC‑60309, or domestic 13 A plug).
Here’s a quick cheat sheet:
| Vehicle Type | Maximum Amps | Typical Plug |
|---|---|---|
| Campervan (small) | 13 A | Domestic 13 A |
| Motorhome (mid‑size) | 30 A | IEC‑60309 30 A |
| Luxury Motorhome | 50 A | IEC‑60309 50 A |
If your vehicle’s max is 30 A but the site only offers 13 A, you’ll need to limit appliance use or bring a step‑down transformer.
4. Gear you must pack
Having the right cord and adapter can mean the difference between a cosy night and a cold, dark tent. Pack these items:
- Power pedestal cable - lengths of 5 m, 10 m, and 15 m cover most pitches.
- Adaptor set: 13 A to IEC‑60309 30 A, 13 A to IEC‑60309 50 A, and IEC‑60309 30 A to 50 A if you have a hybrid vehicle.
- Ground‑fault circuit interrupter (GFCI) or surge protector - protects devices from spikes.
- Fuse box with spare fuses matching your vehicle’s rating.
- Extension cord with proper gauge (at least 2.5 mm² for 30 A, 4 mm² for 50 A).
Don’t forget a small flashlight for night‑time checks and a notepad for jotting down pitch numbers and power outlet locations.
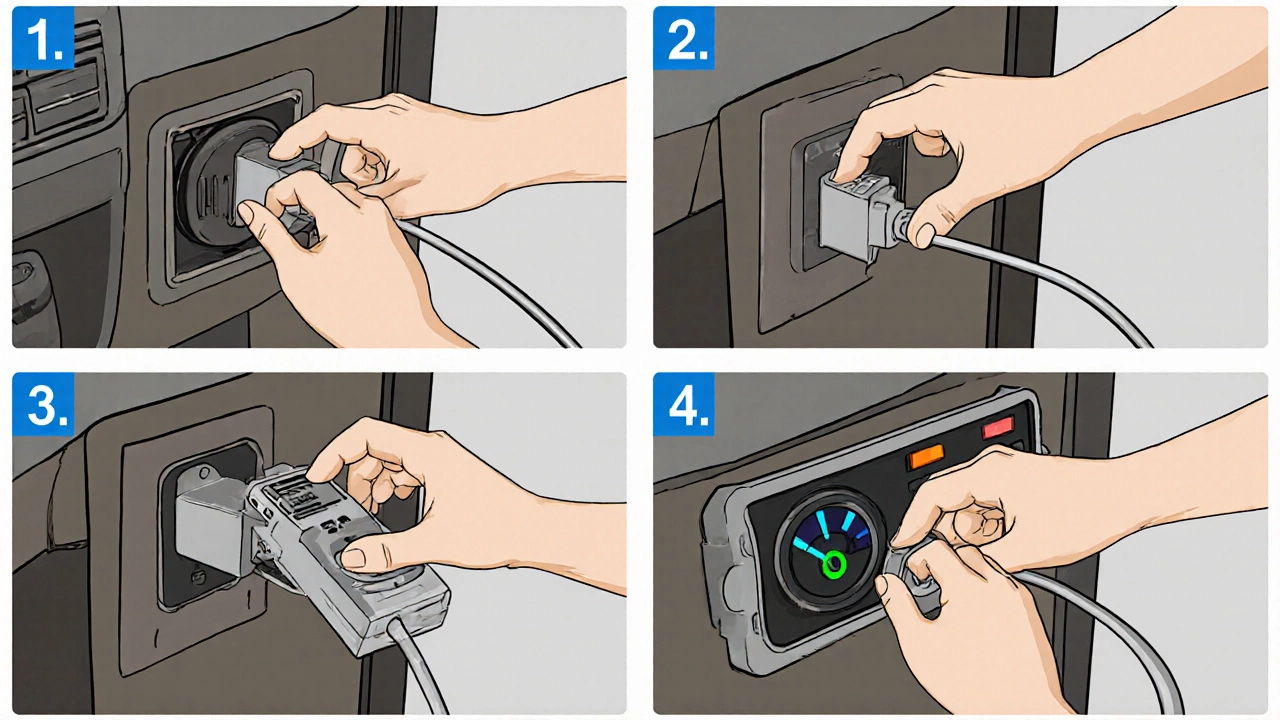
5. Step‑by‑step hookup process
- Park in the correct spot. Align the vehicle’s power inlet with the campsite’s pedestal. Most sites mark the correct side with a blue stripe.
- Turn off all internal appliances. This prevents a surge when you connect the cord.
- Connect the cable. Plug the vehicle side into your inlet, then the pedestal side into the campsite supply. Listen for a click - that’s the lock‑in mechanism.
- Check the indicator lights. Your vehicle’s power panel should show a green voltage reading. If it flashes red, there’s a fault.
- Insert a GFCI. If the site doesn’t provide one, plug your GFCI into the pedestal first, then connect the vehicle cable to the GFCI.
- Turn on appliances gradually. Start with low‑draw items (lights, phone chargers), then add the fridge, then HVAC. Watch the amperage gauge on your dashboard or fuse box.
- Secure the cable. Use cable ties or the built‑in cable lock on the pedestal to prevent tripping hazards.
That’s it - you’re powered up! If anything feels off, power down and move to the troubleshooting section.
6. Troubleshooting common issues
Even with careful prep, problems can crop up. Here are the top three and how to fix them:
- No power at all. Verify the campsite’s outlet is live by plugging a lamp. If the lamp works, check your cable for cuts or corrosion. A GFCI that has tripped will have a reset button - press it.
- Intermittent flickering. This often means the cable is too long for the amperage or the connection isn’t fully seated. Shorten the cable if possible, or replace a 15 m cord with a 5 m one.
- Amperage overload warning. Reduce the number of high‑draw appliances. Turn off the heater or air‑conditioner and see if the gauge drops below the site’s limit.
If none of these steps work, call the site’s manager. They can reset the pedestal or point out a broken supply.
7. Safety and regulations you should follow
Safety isn’t optional. Follow these rules to keep yourself, your vehicle, and the campsite safe:
- Never use an adapter that exceeds your vehicle’s rating - a 50 A plug on a 13 A system is a fire risk.
- Always use a Ground fault circuit interrupter when the site doesn’t provide one.
- Keep cords away from water, sharp objects, and heat sources.
- Inspect the cable and plug before each trip - look for frayed insulation or bent pins.
- Turn off the power at the pedestal when you leave the pitch. It’s courteous and saves electricity.
8. Choosing the right campsite for your power needs
Not every pitch offers 50 A, and some cheap sites only have 13 A. Use this quick comparison to decide which sites fit your lifestyle.
| Feature | 30 A | 50 A |
|---|---|---|
| Typical suitable vehicles | Mid‑size motorhomes, larger campervans | Luxury motorhomes, fully equipped RVs |
| Appliance capacity | Fridge + heater + small air‑con | Fridge + heater + full‑size air‑con + oven |
| Cost per night | Usually included or low surcharge | Higher surcharge (often £2‑£5 extra) |
| Availability | Common at most sites | Limited to premium or caravan parks |
| Cable size needed | 2.5 mm² (minimum) | 4 mm² (minimum) |
If you only need a fridge and lights, a 13 A or 30 A pitch will do. But if you love cooking on an electric stove and running a portable sauna, lock down a 50 A spot early - they fill up fast in the summer.
9. Frequently Asked Questions
Can I use a 13 A plug on a 30 A pedestal?
Yes, but only if you limit your draw to 13 A. The larger outlet will accept the smaller plug, but you must avoid pulling more current than the plug is rated for.
Do I need a separate grounding rod for my motorhome?
Most modern motorhomes have a built‑in chassis ground that ties into the power inlet. Adding a separate ground rod isn’t required unless the site’s manager specifically asks for it.
What’s the difference between a GFCI and a surge protector?
A GFCI cuts power instantly when it detects a leakage to ground, protecting you from electric shock. A surge protector limits voltage spikes, safeguarding electronics. Use both if possible.
Can I charge my EV (electric car) at a campsite?
Only at sites that specifically advertise EV charging stations. Those stations usually provide a dedicated 7 kW or 22 kW charger, separate from the RV power pedestal.
What should I do if the site’s power goes out in the middle of the night?
Unplug all appliances, switch off the main breaker in your vehicle, and use your internal battery or a portable generator as a backup. Report the outage to the site manager so they can reset the supply.
With the right prep and a clear step‑by‑step routine, hooking up power at any campsite becomes routine rather than a headache. Pack the correct cord, check your amperage, follow the three‑step park‑plug‑power‑up method, and you’ll spend more time enjoying the great outdoors and less time fiddling with plugs.